Friday, June 25, 2021

Calculator


I had promised to show what you can do with an arduino, leds and few buttons. I had said you can do quite a lot. 

Here is the first project in the series of showing the power of a turing machine. 

I built a calculator that can add numbers. You can give one number after another and it will keep adding it. 

But you need to read the result in binary and convert it to the regular numbers we are familiar with because leds show results(numbers) in binary. 

The left button is for incrementing the number from 1, 2, 3 .... . The right button is to add that number to the accumulator. The accumulator stats with 0. Accumulator stores the result of all additions so far. 


Thursday, June 24, 2021

Knock Detector


Using a spy(small) microphone and an opamp to boost the small signal from the microphone, i built a knock sensor following a tutorial from youtube. 


Tuesday, June 22, 2021

Preparing the EE toolkit


I have been away for a few days buying items to prepare my toolkit. 

Many times when you sit down to start a project and you realize you are missing a required item. So it is good i think to prepare in advance by buying or collecting all things you might need for the electronics projects. 

I went to the electronics shop nearby Himalayan solutions and bought the items i thought are the most common things for any electronics projects. 

Here is my workshop. I have grouped different electronics components in plastic bags to make it easier to find when needed. 


Shown here are Multimeter i bought from Himalayan solution. Battery holders i took out from toys at home. From left, some jumper wires, slide switch, motor, dc jack. 


Shown here are breadboard, LCD module (bought recently from Himalayan Solutions),  Arduino Uno.


From top left, 9 volt battery, jumper wires, 9v battery cap, 1.5 volt batteries, diodes, photo resistors, servo, speakers or piezo buzzers, piezo electric sensor, microphones. 


From top left, opamps, transistors, 0.1 uf capacitors, capacitors pack, resistors pack, potentiometer, reset switches, RGB leds, IR leds (mistakenly bought thinking normal leds), leds.


Although it would be nice to complete the EE toolkit with an oscilloscoe, power supply, soldering machine and function generator I think for now i can start some projects with the help of these. 

Maybe they are for future list. 

Let's start to build something. 


Monday, June 14, 2021

Project # 9


We had a light bulb in home that would turn on when clapped with hands. This was long non functional however. 

Yesterday I thought of seeing what was inside. 


There were few useful electronic components I could use for the projects. 


It had a microphone and a photoresistor. I understood how it worked. The light would only turn on during the night when the room was dark. The microphone was used to detect the clap and the photo resistor was used to detect the darkness of the room. 

Here is the demonstration of how a photoresistor works. 


Saturday, June 12, 2021

Project # 8


I have been digging through the old toys at home to extract electrical components that I can use in the projects. 


Here a teddy donated his organs for the purpose of engineering. Thank you friend.


The doll would light up and play a melody when tapped gently. 

It used an electrical component called a piezo electric sensor to detect movements, taps, vibrations. 


Here is a demonstration of how a piezo electric sensor works. 


In this project, I have used a piezo sensor to light up an led. When the sensor is pressed or dropped the led lights up.

Friday, June 11, 2021

Project # 7


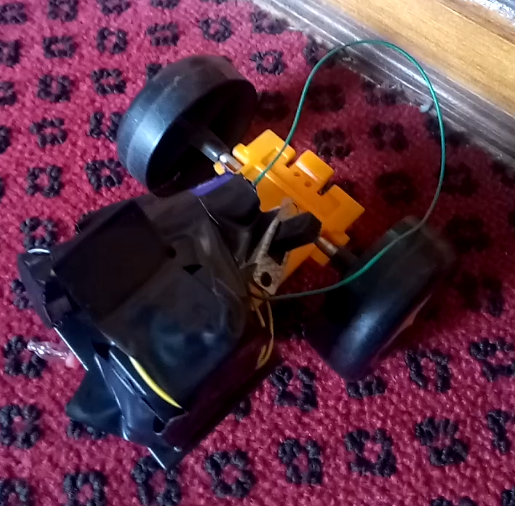
After the successful operation of the electric motor, spent all day yesterday creating this robo car. This doesn't have arduino yet. 


Wednesday, June 9, 2021

Project # 6


Yesterday i worked all day on making a motor run. It turns out it isn't as simple as it sounds. 

The Arduino pins it turns out cannot generate the amount of current the motor requires. 

I had to use a transistor to drive the motor. The online tutorials were using NPN transistor which is easier, i had to figure out how to do it using a PNP transistor. It had been a long time since i took electronics course.

Here is the victory video.